If you keep making that face it’ll stay that way.
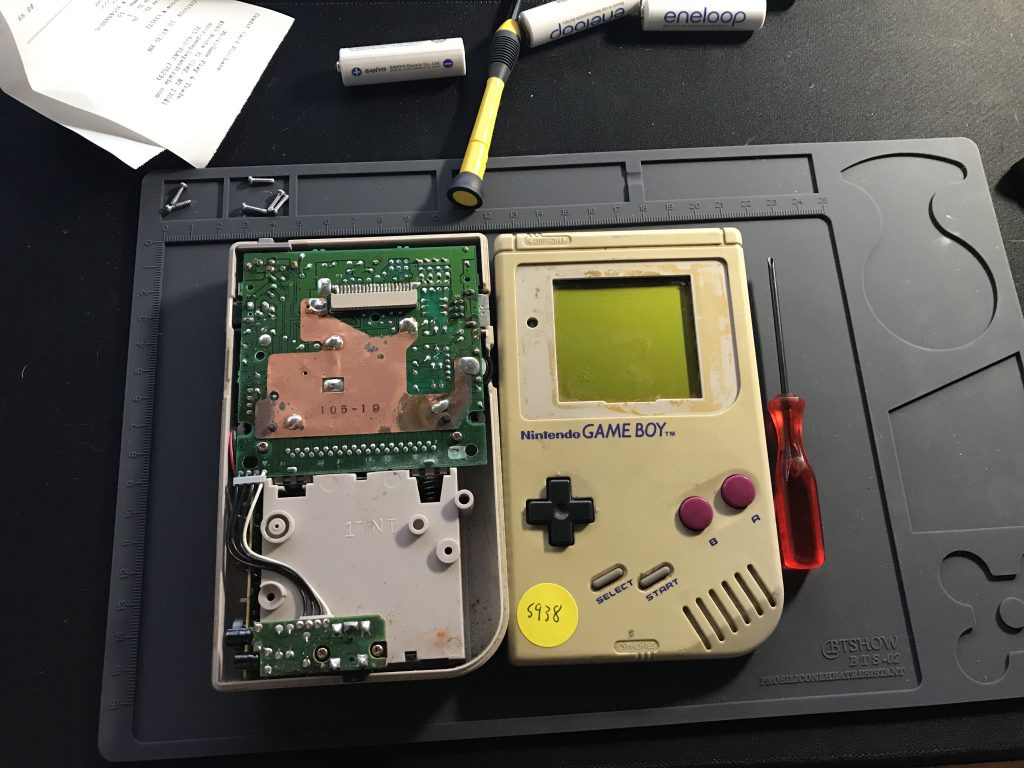
In my never ending quest to fill the gaping void in my life by filling it with material things, I have been on the hunt for an original DMG gameboy. I plan on rebuilding it same as I did with my GBA except this would involve a bivert chip, backlight, new shell, buttons, glass screen cover, etc.
I found one for sale on eBay as “no power, for parts” and decided to take a gamble. Looking closely at the photos I saw the battery terminals were corroded and was confidant that was the cause of the no power. I paid $16.49 for it and a few days later the fun began!
I put batteries in to confirm and it did not turn on at all. Time to do the needful!
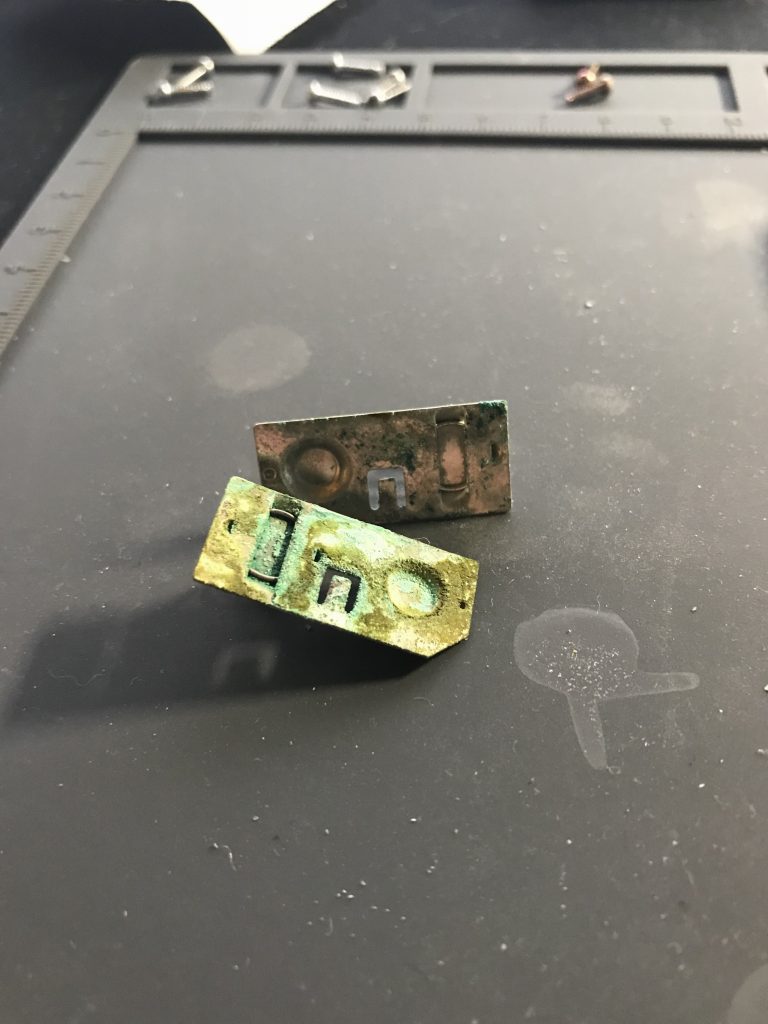
I took it completely apart, first items on the list were the battery terminals and boy were they grody.
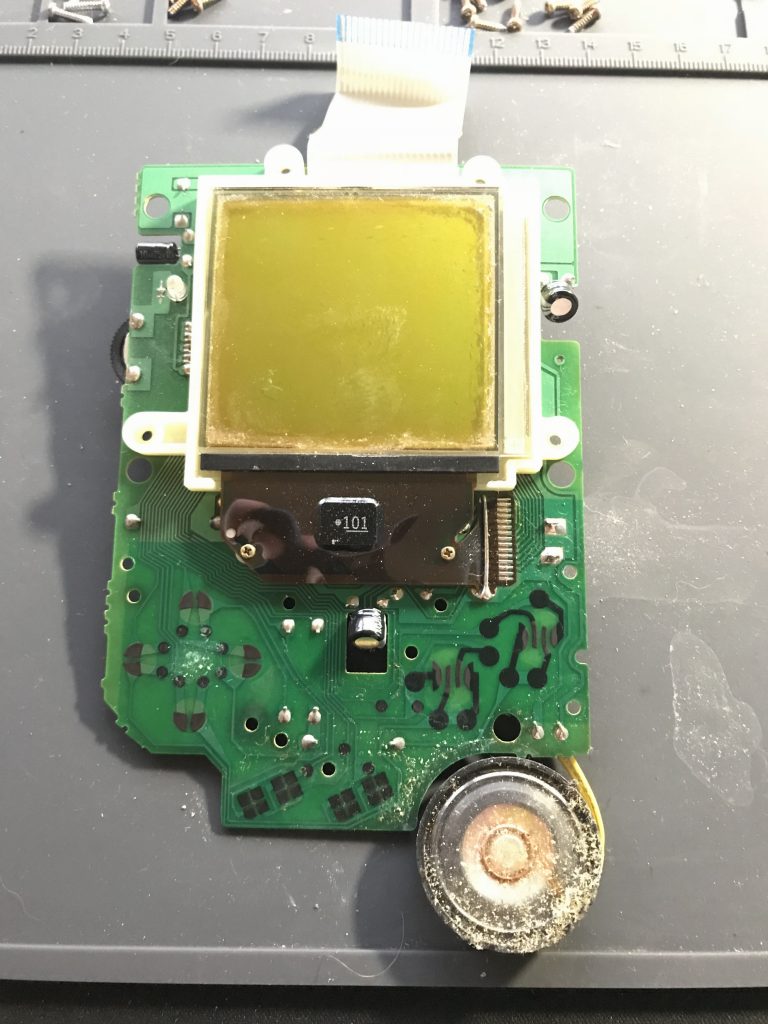
Those went into a vinegar bath while i took everything else apart to clean with ISO. Next up was the front LCD/controller board.
That speaker was awful, it took 3 cotton swabs to get all that grossness off, and another swab to clean the board itself. I was disappointed to see the LCD had a pretty deep scratch in it that I hadn’t noticed in the eBay photos. The back wasn’t as bad but the back of the speaker was rusted because of course it was.
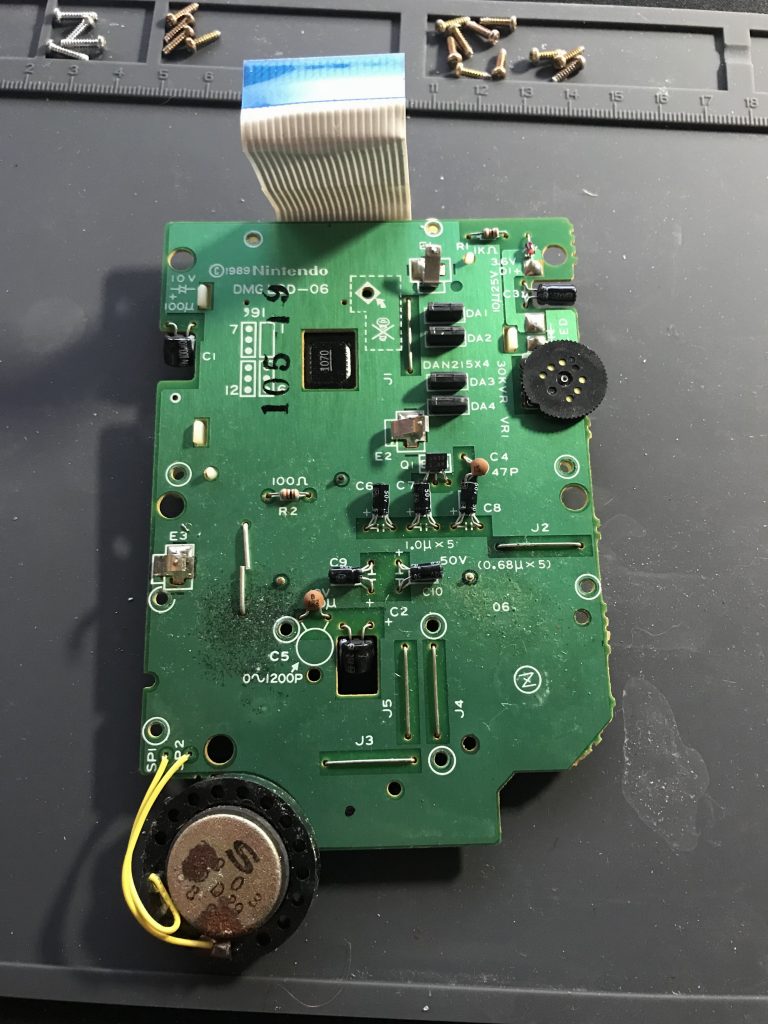
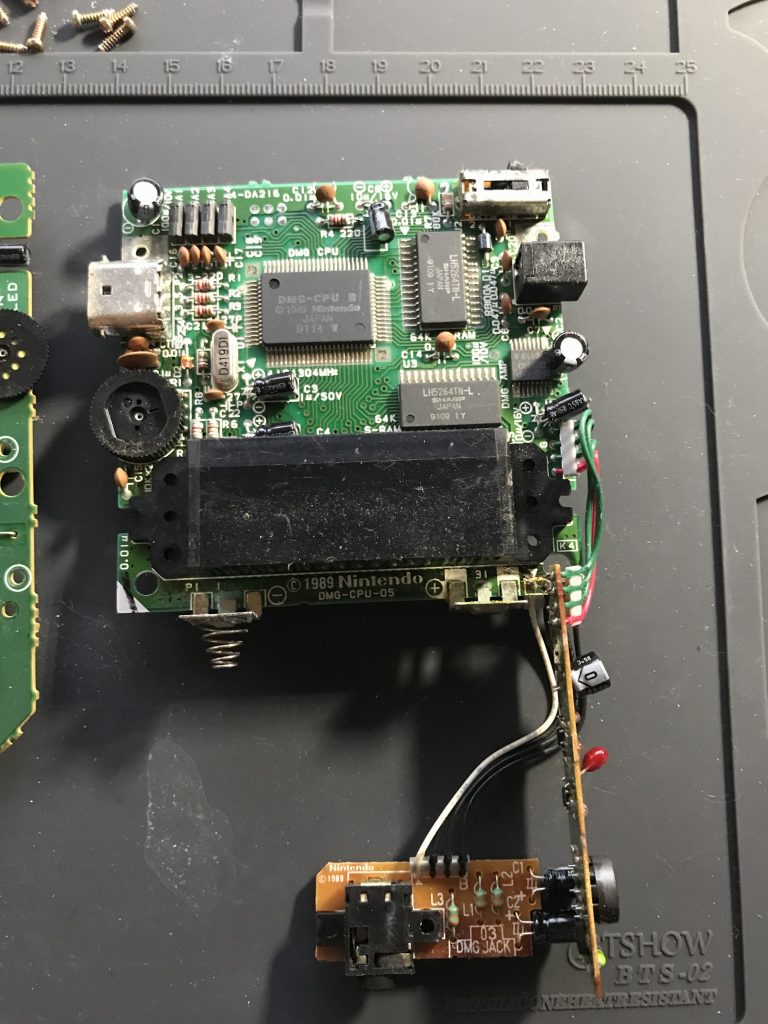
Next up the mainboard!
It wasn’t nearly as bad as the LCD board but I still gave it a quick once over with cotton swabs and ISO as well as scrubbing the power switch with a tooth brush and blasting it with compressed air.
After giving the shell a good scrub a dub dub in the sink with dish soap and a took brush I dried the shell as best I could and blasted all the small crevices with more compressed air. I fished the battery terminals out of the vinegar and was happy to see they had lost almost all the corrosion, so I gave those a quick scrub with the toothbrush and put them back in the shell and put the front board back on to see if I’d fixed the no power issue. I flicked the switch and heard the unmistakable gameboy ding! but no video! I was so close. After doing a little more research online I decided to try squirting ISO into the contrast wheel and going ham on it with a toothbrush. It worked!
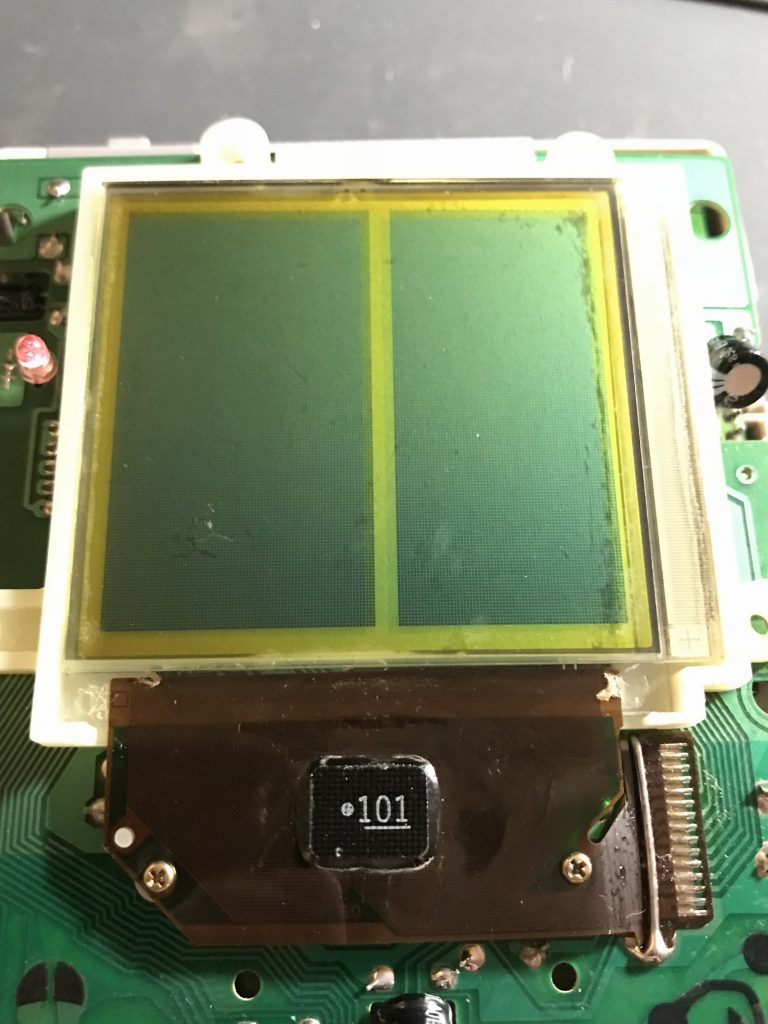
The telltale missing vertical lines, the result of broken contacts in the lcd ribbon. An annoyance but not impossible to fix! most people are able to repair these missing lines by gently rubbing their soldering iron along the lcd ribbon, heating up the metal inside and reconnecting whatever broken connections there were in the ribbon.
Sadly after an hour of touching every square millimeter of that ribbon with my iron I couldn’t fix it. It was pretty late at that point so I figured I’d peel off the protective layer on the front to see if there were any scratches to the actual glass, and that was how I learned the DMG has a polarizer on the back as well as the front. So now that whole thing is completely useless. The LCD is soldered to the front board and no one has been able to come up with a reliable way to replace the LCD. There’s also the fact that no one is reproducing these LCDs.
So for now I’ve wrapped up the DMG until I can find a DMG with a working LCD I can use.
